iOS – Quick start
In order to successfully integrate the Xamarin wrapper for Point SDK, you would require a Rezolve account. Please contact our sales team by requesting for a demo. Please also ensure that you also meet the iOS requirements.
The Rezolve Point SDK enables geo-location capability for apps by delivering accurate location awareness, while substantially reducing battery consumption compared to Android Location API or other standard methods. The Point SDK connects to the Rezolve's backend system, Canvas, to download your pre-configured Geofences, GEOLINE™, Bluetooth Beacons, conditions, and actions.
The Point SDK enables rapid development of location-aware apps. It delivers precise location awareness to the mobile application, but without the usual battery drain that would typically occur. There’s also no need for additional hardware, making it highly scalable. This means the Point SDK enables location-based apps and experiences that were previously impossible. The rest is up to you.
Step 1: Creating the Xamarin iOS project
Create the Xamarin iOS project:
1. Note: Ensure that your Visual Studio version is at least 15.3, and your Xamarin.iOS version is 10.12.0.18 or greater.
2. Start a new Xamarin Visual Studio project, using whichever template is appropriate for the app. The following example uses ‘Single View App‘ for simplicity:

3. Enter a Product Name, Solution Name, and other required details.

4. Choose a folder to save the project (e.g. ‘Projects’) and select ‘Create’.
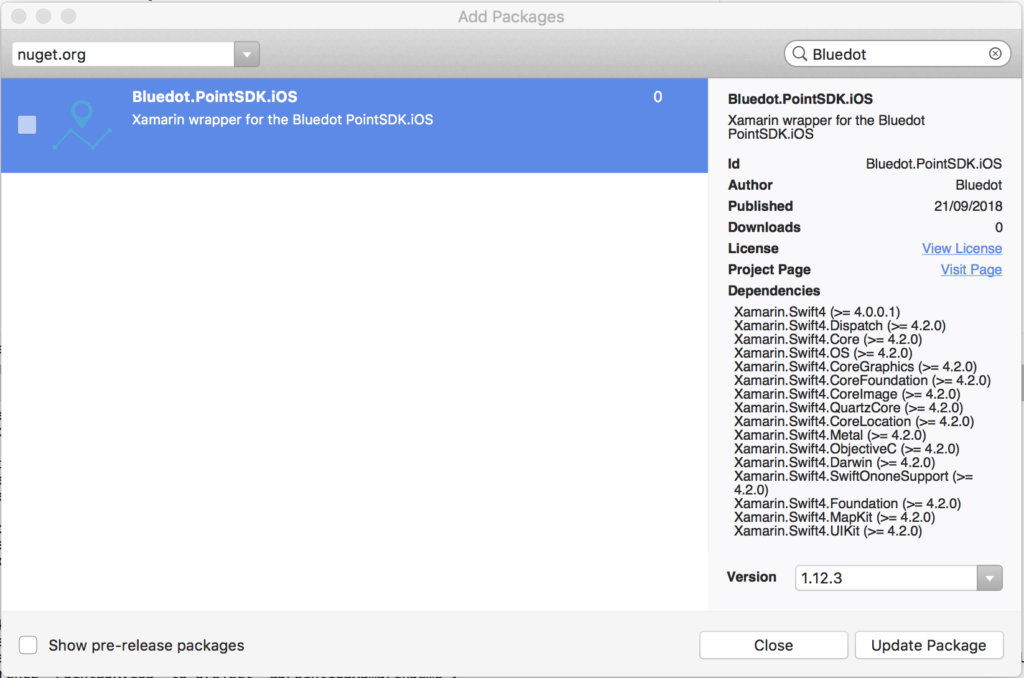
Step 2: Add Bluedot.PointSDK.iOS package
Right click on Packages folder, select ‘Add Packages…‘. In the search box type Bluedot.
Step 3: Configure the Xamarin Project Solution
Follow the steps below to configure the Xamarin Project Options
1. Go to ‘Project‘ in the menu bar, and select Project Option, in our example here its ‘BDHelloPointSDK Options‘.
2. Select ‘iOS Build‘ on the left pane.
3. In the Linker behavior, select ‘Link Framework SDKs Only‘.

4. Bitcode was introduced in iOS 9 for App thinning. Point SDK is compatible with iOS versions prior to this and can therefore not be built with Bitcode enabled. This entails that an app utilizing Point SDK must have Bitcode set to NO
Step 4: Configure the info.plist settings
Follow the steps below to configure the info.plist settings:
1. Device capabilities
Point SDK requires Location Services with GPS accuracy to operate as intended. This should be declared in the info.plist of any integrating app.
To declare the requirement:
- Locate the app’s
info.plistfile. - In the ‘Source‘ tab of info.plist, find the existing entry titled ‘Required Device Capabilities’ or create one if it does not exist.
- Select the (+) icon to add new Item lines containing the following values:
gpslocation-servicesaccelerometer
2. Required background modes
Point SDK requires access to location updates at all times (including when the app is in the background).
Apple has restricted the ability of apps to execute in the background to reduce battery consumption. As part of iOS 4.0, Apple introduced a number of managed background execution modes, including delivery of location updates while in the background.
To declare the background execution modes:
- Locate the app’s
info.plistfile. - In the ‘Source‘ tab of info.plist, find an existing entry titled ‘Required background modes‘ or create one if it does not exist.
- Select the (+) icon and select from the drop-down list provided: App registers for location updates
3. Required background updates description
Starting from iOS 8, a usage description is required when utilizing Location services; this is also provided in info.plist
- Locate the app’s
info.plistfile. - In the ‘Source‘ tab of info.plist, find an existing entry titled ‘NSLocationAlwaysUsageDescription‘ or create one if it does not exist.
- Select the type of String.
- Enter a usage description that denotes the use of location services by your app. For example, Your location is used by the app to get you deals closer to you while in the background (This message will be prompted to the user when location services are first requested).
4. (Optional) Local Notification Permission Prompt
The Local Notification Permission Prompt is enabled by default to make sure the SDK delivers local notifications for the ‘Message Action’ or/and ‘URL Action’ set on a Zone through the Canvas dashboard.
Optional: To disable the notification permission prompt, the following key should be declared in the info.plist of any integrating app.
- Locate the app’s
info.plistfile - Select the (+) icon to add a new key BDPointLocalNotificationEnabled, and set the value to
BooleanType.- set the value to
YESto enable default notification prompt. - set the value to
NOto disable default notification prompt.
- set the value to
Step 5: Integration Checklist
1. Xcode Project Configuration Checklist
The following is a checklist of the project configurations that must be made for successful integration of Point SDK into an app.
- The following keys are added to the UIRequiredDeviceCapabilities section of the
info.plist:gpslocation-servicesaccelerometer
- The following keys are added to the UIBackgroundModes section of the
info.plist:location
- The following key is added the Information Property List in the
info.plist:NSLocationAlwaysUsageDescription- Type: String
- A description of the usage of location services by your app in the Value field.
- The Linker behavior is set to ‘Link Framework SDK only‘.
2. Source Checklist
The following is a checklist of the source code implementations that will assist in making a successful integration of Point SDK into an app.
- Implement the IBDPGeoTriggeringEventDelegate or IBDPTempoDelegate
- Assign an object implementing the protocols to a class (for example, AppDelegate)
BDLocationManager.Instance().GeoTriggeringEventDelegate = myDelegateImplementation;
BDLocationManager.Instance().TempoTrackingDelegate = myDelegateImplementation;
3. iOS Caveats
To avoid unexpected behavior in the app, implementations of the following two selectors must be present in the Application Delegate:
public override void DidEnterBackground(UIApplication application){ ... }
public override void WillEnterForeground(UIApplication application){ ... }
public override void OnResignActivation(UIApplication application){ ... }
If these are removed or missing for any reason, then an “unrecognized selector sent to instance” error will occur at Runtime.
Step 6: Next Steps
Essential Guides:
- For a list of detailed iOS Features, please refer to the documentation section on iOS – Features
- For interacting with our Canvas backend, please refer to the documentation on iOS – Quick Start
Xamarin iOS integration examples on GitHub
You can refer to Xamarin iOS integration examples via the link below:
API Documentation can be assessed via the link below: